Want to refresh your home without hiring a professional? With the right DIY home painting techniques, you can achieve a flawless, high-quality finish. Whether you’re repainting a single room or giving your entire home a makeover, proper preparation and execution are key to long-lasting results. Do you want earthy tones, check our Desert Beige (S117) Silk Emulsion.
Step-by-Step Guide to DIY Painting
- Prepare Your Walls for Painting
A successful paint job starts with preparation.
Clean the Walls: Remove dust, grease, and stains to ensure smooth adhesion.
Repair Cracks and Holes: Fill gaps with spackle or putty and sand for an even surface.
Use a Primer: This step enhances paint adhesion and ensures vibrant, even color.
- Choose the Right Paint Type
Picking the right paint finish is crucial:
Matte Finish: Best for hiding wall imperfections in living rooms and bedrooms.
Satin or Eggshell: Offers a slight sheen, ideal for high-traffic areas like hallways.
Semi-Gloss or Glossy Finish: Perfect for kitchens and bathrooms due to its easy-to-clean surface.
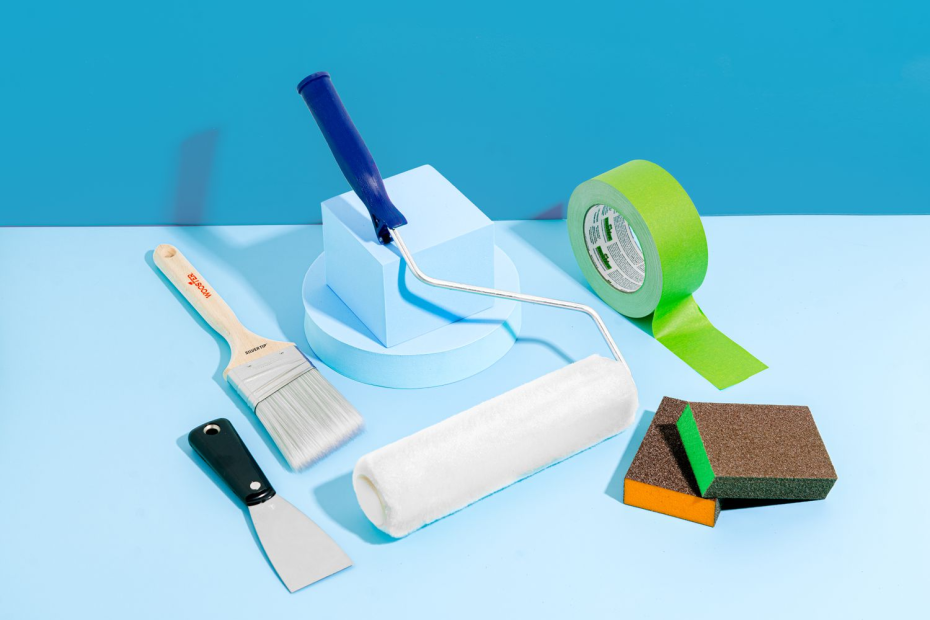
- Invest in High-Quality Tools
Brushes & Rollers: Use synthetic bristles for water-based paints and natural bristles for oil-based paints.
Painter’s Tape: Ensures sharp, clean lines around trims and corners.
Drop Cloths: Protects floors and furniture from accidental spills.
- Apply the paint like a Pro
Start from the Ceiling: Work your way down to avoid drips on fresh coats.
Use a ‘W’ Pattern: This helps distribute paint evenly and prevents streaks.
Apply Multiple Coats: Let each coat dry completely before adding another layer for a durable, smooth finish.
- Post-Painting Cleanup & Maintenance
Remove Tape Carefully: Do this while the paint is still slightly wet to avoid peeling.
Ventilate the Room: Open windows for faster drying and to clear paint fumes.
Regular Maintenance: Wipe walls with a damp cloth to keep them looking fresh.